Showing posts with label Chilli. Show all posts

Sunday, June 14, 2015

This recipe is to die for! It's a hot cheese dip with Mexican flavours and is great to whip up when you have a few friends over for some drinks.

I remember as a kid going out with my family to our local Mexican restaurant Acapulco Annie's and ordering this every single time!

Ingredients
3 spring onions, sliced thinly, reserving half for garnish
1 tsp garlic powder
2 tsp Mexican seasoning spice
1/2 tsp chilli powder
Handful of coriander, chopped finely
salt & pepper to taste
1/2 cup grated cheese
1 block Kraft velveeta cheese, grated
2 TBSP parmesan cheese
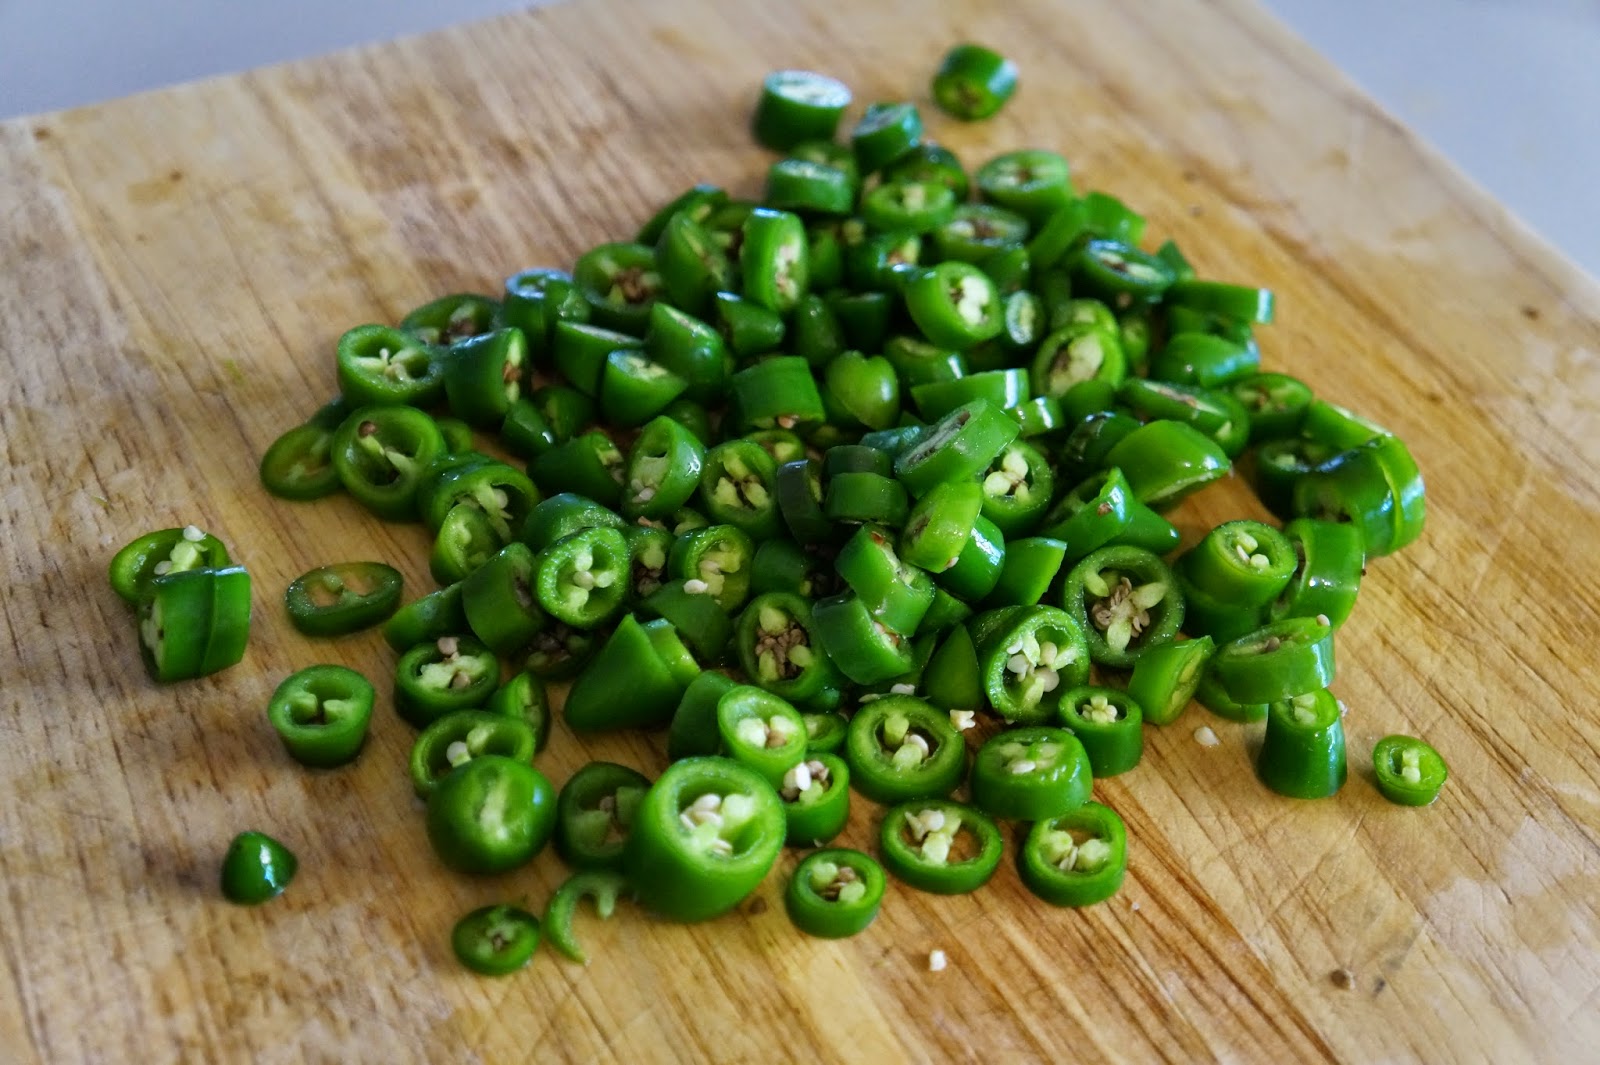
4 tbsp jalapeno chillis, chopped finely, reserving half for garnish
1 cup milk

Method
Place everything in a microwave safe jug and heat on high for 3-4 minutes whisking halfway. Mixture should be thick, hot and combined.

Pour into a serving bowl and garnish with spring onions,jalapeno chillies and cracked pepper. Serve with corn chips and raw vegetable sticks.

 
Leftovers can be refrigerated and gently reheated within 4-5 days.

Monday, April 20, 2015

These mini quiches are delicious to make for parties or just to snack on at home. 

Filled with D'Orsogna Salame Romano, jalapeno chillies and feta cheese, they're very simple to prepare and bake.

If you're making these for kids you can omit the spicy chillies and they will still be tasty.


Ingredients
2 Sheets Shortcrust Pastry
1x 150gm pack of D'Orsogna Salame Romano
2 TBSP Pickled Jalapenos, Chopped
3 TBP Marinated Feta Cheese
2 Eggs
1/4 Cup Milk
Salt & Pepper

Method

Preheat oven to 210C.

Thaw out the pastry sheets and cut circles using an 8cm fluted cutter.


Arrange circles in a muffin tin lined with silicone muffin pans.

Dice 5 slices of D'Orsogna Salame Romano and spread evenly amongst pastries along with the Jalapenos and Feta Cheese.


Whisk eggs, milk and salt and pepper to taste, in a jug and pour evenly over each pastry being careful not to overfill.


Bake for 15-18 minutes.


Serves 4
Prep Time: 5 mins
Cook Time: 18 mins

You can find this recipe in the La Cucina section of the D'Orsogna website.
 
This recipe was created in partnership with D'Orsogna Smallgoods


Friday, March 20, 2015

Every year throughout the warmer months we always have a few chilli plants on the go. It amazing how many chilli's can grow on the one plant throughout the season!

The ones that I find grow the easiest and are the most eaten in our household are the jalapeno variety. I find them just the right amount of heat (call me a wuss!) and they have that lovely chilli flavour and smell.

These warmer months, however don't last forever, so for the last few years I've found myself pickling and jarring them to keep in the pantry to use through the year without having to buy them.

Here is my simple recipe to have you growing, pickling and enjoying your home-grown chilli's long after the growing season has passed.

These also make great gifts, and alot of people love the effort that goes into homemade products.


1 Cup White vinegar
1 Cup Water
1.5 TBSP salt and sugar
1 TBSP whole peppercorns
5-6 Whole cloves
2 Garlic cloves
1 Star anise
2 Cups Jalapeno chilli's

Wash your preserving jars and lids then bring them to the boil in a large soup/preserving pot for 5 minutes. Set aside until filling stage.

Simmer all the ingredients, except chilli's for 2-3 minutes until sugar and salt are dissolved. Add chilli's (you can chop them up, like I have, or leave them whole) and simmer for 10 minutes.


Turn off heat and set side for 10 minutes.

Using tongs, drain jars and lids and carefully ladle or spoon chillies into the jars and well as the liquid. Be sure to add the peppercorns and spices as these will only add flavour as they develop.

Fill to 1cm below the top and screw the lid on and invert. It pays to use good thick oven mitts doing this process as the jars and liquid are very hot! Always make sure the jars are just as hot as the contents going in or else this will result in the jars cracking.


Leave the jars upside down until they're completely cool. The lids should have sealed and you can now store these in your pantry or give out as little gifts.

This recipe has enough liquid for 3-4 250ml preserving jars.

Wednesday, July 23, 2014

I love making Curry pastes from scratch. It makes the whole house smell amazing and is very rewarding!


500Gm Beef Cubes
2 TBSP Cornflour
1 Red Onion
2 Spring Onion stalks
2 Cloves of Garlic
1 TBSP Lemongrass paste (or a couple of stalks)
1 Thumb-size piece of Ginger
1 bunch of Coriander (stalks and roots chopped finely, leaves roughly chopped and set aside for later)
1-2 Long Red Chilli's (depending on how hot you like it, some chopped and reserved for garnish)
1/2 tsp Ground Coriander, Cinnamon and Cumin
2 tsp Soy Sauce, Sugar and Fish Sauce
2 Limes (1 juiced and 1 cut into wedges for garnish)
4-5 medium sized potatoes, cut into large chunks
400ml can coconut milk
3 TBSP Sweet Chilli Sauce
2.5 cups Beef stock
Salt and pepper to taste

Toss the beef in the flour and set aside.


Combine the red onion, spring onions, garlic, lemongrass, ginger, coriander root and stems, chilli, spices, soy sauce, fish sauce, sweet chilli sauce, sugar and lime in a food processor or mortar and pestle and process until a paste is formed.


 Fry off the beef in batches in some oil until browned and set aside. Then fry off paste in some more oil for a few minutes. Add the stock, coconut milk, beef and potatoes and mix until combined. Simmer on very low, covered for 6-8 hours. You could transfer to a slow cooker or cook covered in a low oven too.

Serve with steamed rice and garnish with leftover coriander leaves, chopped chilli and a wedge of lime.

Serves 4-6